When choosing the thread/yarn for a project, I will pose the question, who's doing the work - the thread or the pattern? Or to put it another way, the thread/yarn or the pattern may be busy, but not both. Look at the socks in my previous post. That yarn called for a very simple pattern. I usually reserve variegated threads for edgings or small motifs, or alternate rounds with a solid color in a larger piece. If there are several rounds of a variegated thread, the colors may pool or draw the eye away from the structure of the pattern. Some people are better at this than I am and produce beautiful things with variegates.
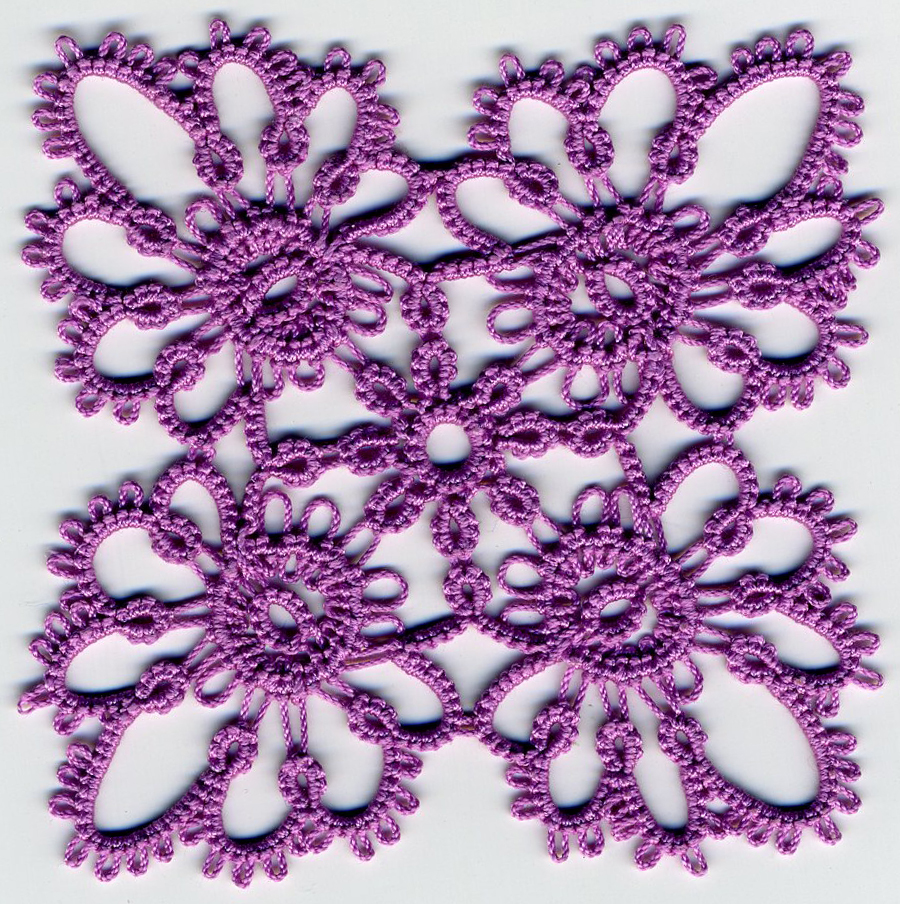
Last summer, when I wanted to make Dora Young's Square Pinwheel, I had trouble finding a pair of threads I felt like working with. There was a Lizbeth variegated ball (sorry, can't remember the number) with the colors all about the same strength. I thought maybe I could pull it off, since Jane had made a very nice version of the same pattern with an ombre thread, but no, I just wasn't happy when it was done. It's not horrible, but I don't think the pinwheel structure shows up as well as it should. (The scan actually looks better than in real life.) I switched to safer solid colors, sigh.
Incidentally, the technique Dora Young used in this pattern also appears in the Bath Tatting Book of 1865. I've always wondered if she had a copy of that book, or independently recreated the technique.


.jpg)


